
Getting started with Nimble Page Builder for WordPress
Nimble Page Builder is a powerful yet easy to use page builder plugin for WordPress. It uses the live customizer which is the native WordPress interface for real-time design.
The plugin allows you to drag-and-drop modules like text-editor, post grids, images, contact forms, maps, icons, or beautiful pre-built sections with a parallax background, into any page of your site. You can edit your sections in real-time, and then click “publish” when you are happy with the result, or save for later.
Watch the video below to see how this demo page has been built !
You can see Nimble Builder in action with the Customizr theme or with the Hueman theme. Here's a 404 page designed with Nimble Builder plugin.
0 - Install Nimble Builder
To install Nimble Builder:
- Log into your WordPress site.
- Go to: Plugins > Add New.
- Search for ‘Nimble Builder’.
- Select Install Now


1 - Accessing Nimble Builder interface for live customization
Once installed, Nimble Page Builder can be accessed in the WordPress live customizer.
You can start using the Nimble Builder from a brand new page, or from any existing content of your site.
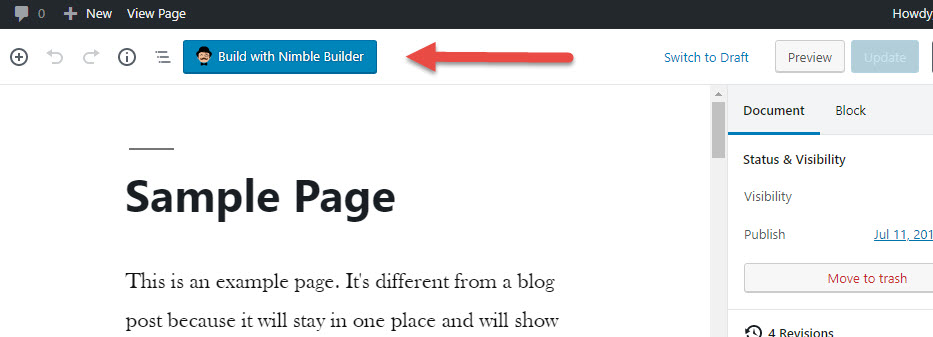
A - When editing a post or a page, simply click on the Nimble Builder button.
B - When browsing the front end, use Nimble Builder link in the admin bar to build any page in live preview

Nimble Builder allows you to build not only pages and posts, but also category and tag archives, author pages, search results, 404, custom post types, custom taxonomies.
For example to add Nimble sections to a category archive page, click on the Nimble Builder link in the top administration bar as illustrated below.

C- From your WordPress administration page, navigate to Appearance > Customize

2 - Create your first section of content
You can either click on the "+" icon in the topbar or click on "Insert a new section". Both actions open Nimble Builder content picker.

The content picker let you chose between various type of content

Then you simply need to drag and drop a section or module in one of the dropzones of your previewed page.

3 - Edit your content
Editing a module
- Once you have dropped a module in your page, move your mouse on it to display the module menu. Open the module menu and click on the edit pencil icon.
- Then start customizing your various module options from the left customizer panel.

Editing a section
Any section, column or module has editable properties in Nimble Builder, like background, width, padding, borders, ... . You can access and edit those properties by clicking on the hamburger menu revealed when moving the mouse on it.
- For a section, open the section menu with a click on the hamburger menu, and click on the settings icon.
- Then customize your section options

Publish or save your work as a draft
Once done with you design, you can publish it, schedule it or save it as a draft for later modifications.

Restore a previous version of your Nimble Builder sections
Nimble Builder also includes a revision history allowing you to preview and restore an old version of your work. More details here : How to restore a previous version of your page with Nimble Builder for WordPress?
